

How To Add A Border To An Image In Photoshop
Learn how to add a unproblematic photo border, and even ii borders, around your paradigm with Photoshop! A step-past-footstep tutorial for Photoshop CC, CS6 and earlier.
Photo borders are a great way to add a sense of class and elegance to an image. And calculation a border is like shooting fish in a barrel once you know the steps. We'll start by adding more than space around the image using Photoshop'south Canvas Size command. Then, to create the border, we'll make full the space with color using a Solid Color make full layer. You'll acquire how to cull a color for the border from the Color Picker, and how to alloy the border with your photograph by choosing a colour directly from the image itself!
Once we've added the main photo border, I'll prove y'all how to add a 2nd, smaller edge around the image using a layer event.
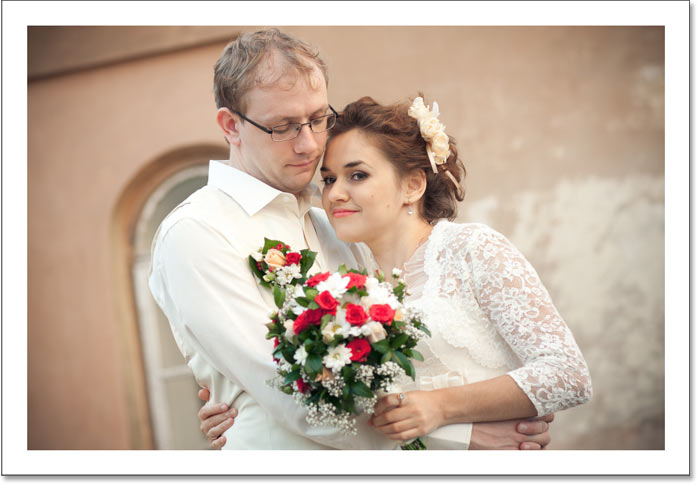
I'll apply this image that I downloaded from Adobe Stock:
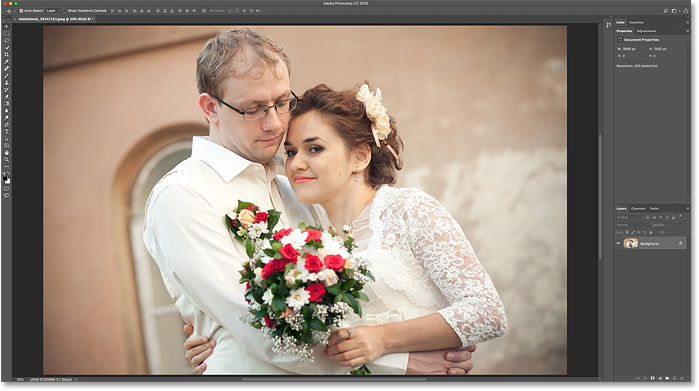
The original prototype. Credit: Adobe Stock.
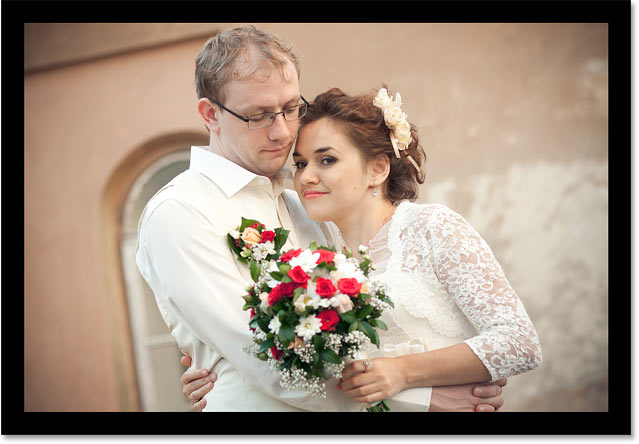
And hither's the image with the photo border around information technology. Yous'll learn how to customize the size and colors of the border as nosotros work through the steps:
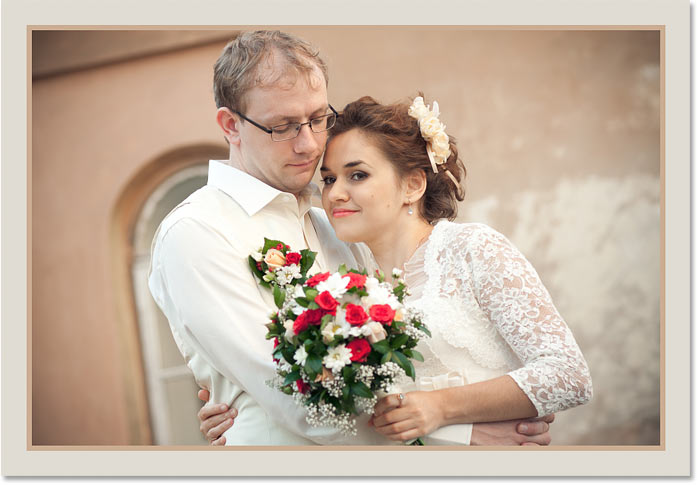
The photo edge issue.
Allow'south go started!
How to create a photo border in Photoshop
For this tutorial, I'thousand using Photoshop CC just any contempo version of Photoshop volition work. You can also follow along with my video of this tutorial on our YouTube aqueduct. Or download this tutorial as a print-ready PDF!
Step 1: Zoom out to make room for the border
To create the photo border, we'll be calculation more canvas infinite around the paradigm. So lets give ourselves more room to piece of work by zooming out. To zoom out from your keyboard, press and agree the Ctrl central on a Windows PC, or the Command key on a Mac, and printing the minus key. This gives united states more room to see the border:
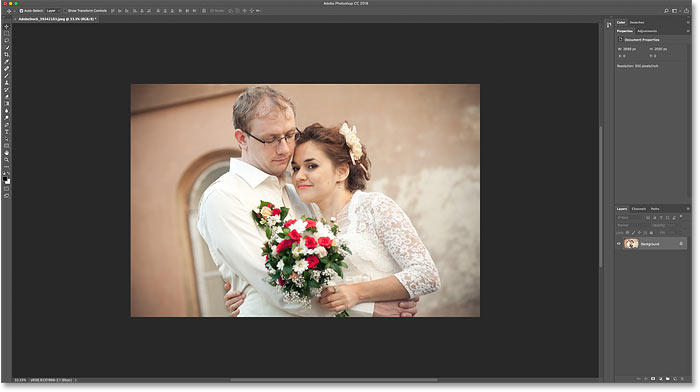
Zooming out from the image to make room for the photograph border.
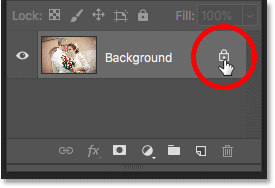
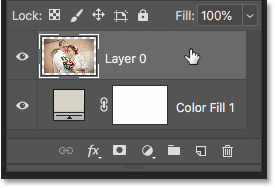
Step two: Unlock the Background layer
If nosotros look in the Layers panel, we run across the image on the Background layer:
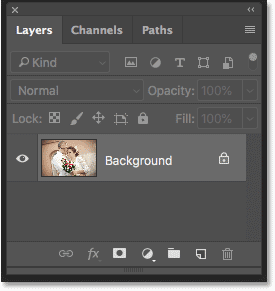
The Layers panel showing the image on the Background layer.
Nosotros need to unlock the Background layer then we tin add other layers beneath it. To unlock it, in Photoshop CC, just click the lock icon. In CS6 or earlier, press and hold the Alt (Win) / Option (Mac) key on your keyboard and double-click. This removes the lock icon and renames the layer to "Layer 0":
Unlocking the Groundwork layer.
Step three: Open the Sail Size dialog box
To add more than canvas space around the image, get up to the Image menu in the Carte du jour Bar and choose Canvass Size:
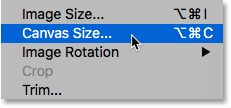
Going to Paradigm > Canvas Size.
Step 4: Add more sail around the photo
In the Canvass Size dialog box, brand certain that the Relative option is checked. And then, in the Ballast grid, brand sure that the center square is selected. This will add together the new sheet space every bit around the epitome:
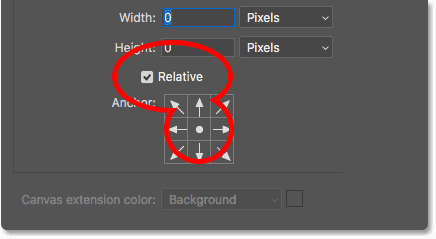
Make sure Relative and the centre square are selected.
Then, enter the size you need for your photo border into the Width and Acme fields. Keep in mind that the value you enter will exist divided equally between both sides. And that'southward truthful for both the width and the height. Then if you want a quarter-inch border around the image, you'll actually want to enter 0.5 inches for the Width and Peak. For a ane-inch edge, you'll demand to enter 2 inches. In other words, whatever size you demand, enter twice that amount.
In my case, I want a half-inch border, then I'll set both the Width and Top to twice that corporeality, or 1 inch:

Enter twice the size you need into the Width and Meridian boxes.
And so, to add the canvass infinite, click OK to close the dialog box. And here we see the new canvas around the paradigm. The checkerboard design ways that the space is currently filled with transparency, but we'll add color to it adjacent:

The new canvas space that volition become the photo border.
How to undo the canvass size and try again
If y'all chose the wrong size for your border, you tin can disengage information technology by going upwardly to the Edit menu and choosing Disengage Canvas Size. Then re-open up the Canvas Size dialog box (get to Image > Canvass Size) and endeavor again:
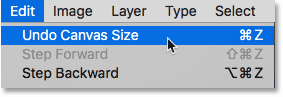
Going to Edit > Disengage Canvass Size.
Step five: Add a Solid Color fill layer
To fill the border with a color, we'll use one of Photoshop'due south Solid Color fill layers. In the Layers panel, click the New Make full or Adjustment Layer icon at the bottom:
Clicking the New Fill or Adjustment Layer icon.
And then choose Solid Colour from the listing:
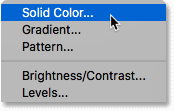
Adding a Solid Colour make full layer.
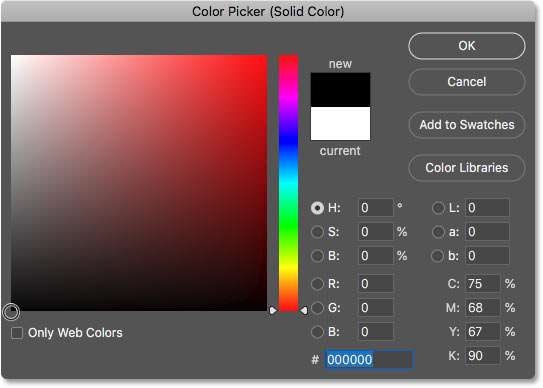
Pace half dozen: Cull white for the colour of the photo border
In the Color Picker, choose the color y'all want for your border. I'll choose white for at present, but I'll testify you how to modify the color in a moment:
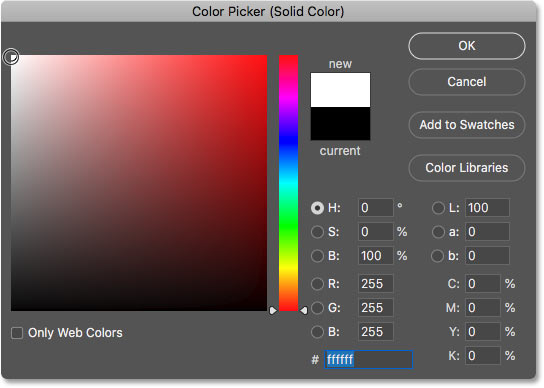
Choosing white in the Color Picker.
Click OK when you lot're done to close the Color Picker. And Photoshop temporarily fills the entire certificate with white, blocking the image from view:

The fill layer blocks the image from view.
Step 7: Drag the fill up layer below the image
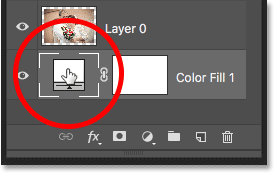
To fix that, back in the Layers console, click and drag the make full layer beneath the image:

Dragging the make full layer beneath "Layer 0".
And now the color from the fill up layer appears only inside the border:
The initial photo edge consequence.
Step 8: Change the border colour (optional)
If you desire something other than white, yous can cull a different color for your border by double-clicking on the fill layer's color swatch:
Double-clicking on the color swatch in the Layers panel.
This re-opens the Color Picker where y'all can choose something unlike. And equally you attempt different colors, y'all'll run into a live preview of the new color around the paradigm. So if I choose black instead of white:
Choosing black in the Color Picker.
Then my edge instantly changes to black:
The aforementioned border, at present in black.
How to cull a edge color from the image
You tin choose any color you like from the Colour Picker. Or, you can choose a color straight from the image itself. Only motion your cursor into the image and click on the color yous demand. I'll cull a light grayness from the window in the background:
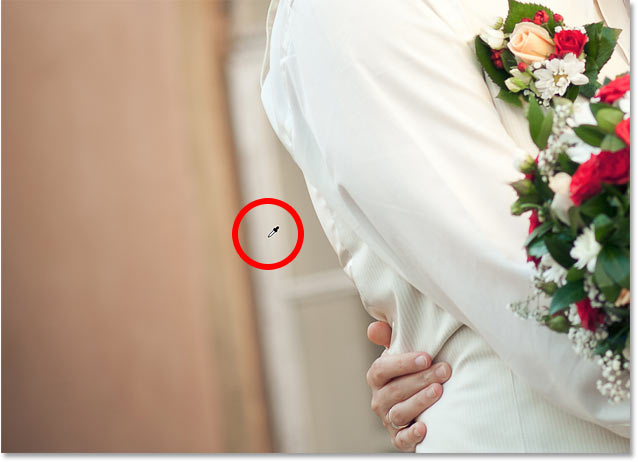
Choosing a photo border color from the image.
And once more, the border instantly changes to the new color. To accept information technology, click OK to close the Colour Picker:

The photo border now blends better with the image.
Adding a smaller edge within the principal edge
Now that we've added the principal edge, let's add together a second, smaller border inside the main ane. And we'll do that using a layer consequence.
Step 9: Select "Layer 0"
In the Layers panel, select the image on "Layer 0":
Clicking on the image layer to select information technology.
Step 10: Add together a Stroke layer style
Then click the Layer Styles icon (the "fx" icon):
Clicking the "fx" icon in the Layers panel.
And choose Stroke from the list:
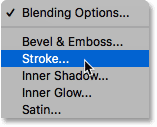
Choosing a Stroke layer upshot.
In the Layer Mode dialog box, leave the stroke colour set to black for now, and brand sure that the Position is set to Within. And then, increase the width of the stroke past dragging the Size slider:
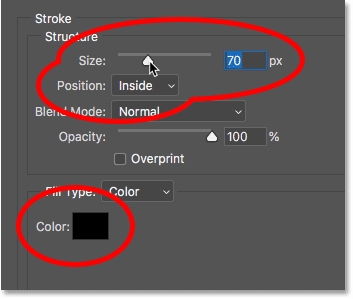
The Stroke options.
As yous elevate, you'll see the size of the stroke increasing around the inside of the main edge:
The stroke appears between the photo and the border.
Footstep 11: Change the color of the stroke (optional)
If you don't want black as your stroke colour, you tin change information technology by clicking the color swatch:
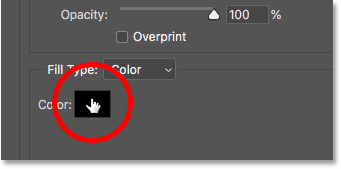
Clicking the stroke'south color swatch.
Then, in the Color Picker, choose a different color. Or, just like nosotros did for the main border, yous can choose a color direct from your prototype. I'll click on a color from the background:

Choosing a color for the stroke from the image.
And the stroke instantly updates to the new color. When you're happy with the colour, click OK to close the Color Picker:
Both the border and the stroke at present use colors from the prototype.
Footstep 12: Adapt the size of the stroke
Finally, I'll end off the event by adjusting the Size slider to fine-melody the thickness of the stroke. I'one thousand using a adequately big epitome here so I'll go with a Size value of effectually 32px. Then to have it, I'll click OK to close the Layer Style dialog box:
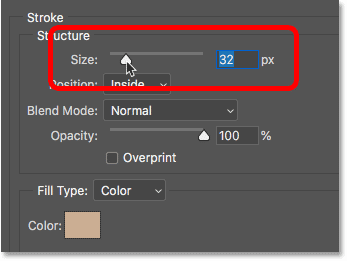
Fine-tuning the size of the stroke.
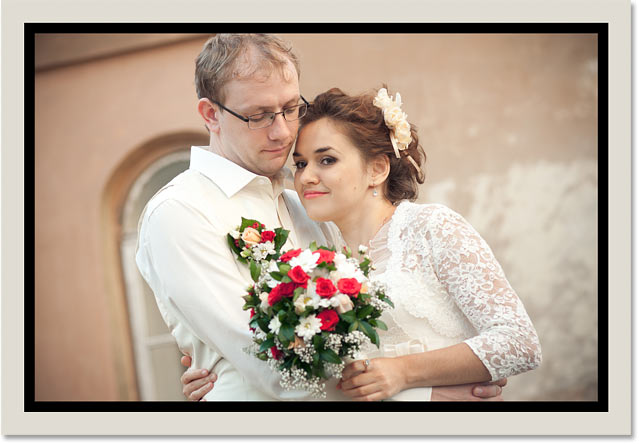
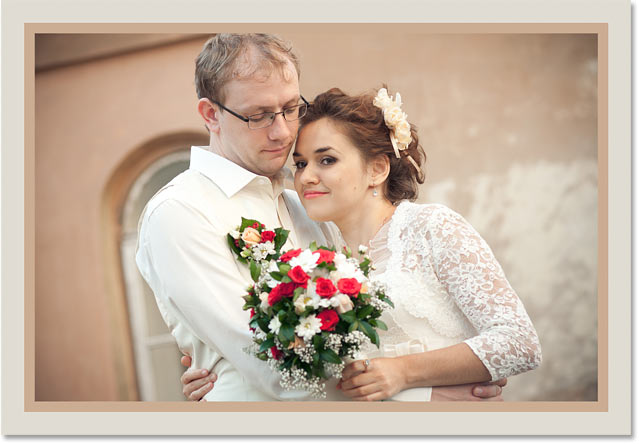
And here'southward my concluding result:
The terminal "photograph border" effect.
And there we have it! That's how like shooting fish in a barrel it is to add a border around your photos with Photoshop! For more than photo border furnishings, check out my drop shadow photo border and my movie frame tutorials, besides as my tutorial on how to create a painted edges border. Or visit my Photo Furnishings department for more tutorials! And don't forget, all of our tutorials are now available to download as PDFs!

How To Add A Border To An Image In Photoshop,
Source: https://www.photoshopessentials.com/photo-effects/borders-and-frames/simple-solid-color-border/
Posted by: engellils1998.blogspot.com
0 Response to "How To Add A Border To An Image In Photoshop"
Post a Comment